It’s a weird time in the world right now.
Non-essential businesses are closed. The world seems to be shut-in. And our daily luxuries are no longer in our grasp – including professional photography.
As a portrait photographer myself, it’s extremely sad that I cannot be out helping families document their story. That I cannot meet with my clients for milestone sessions. That I cannot capture yearly memories with growing families.
But, it is what it is and there’s no other choice right now. Life goes on and babies certainly aren’t waiting for businesses to open back up!
So, even if you cannot hire a professional photographer right now, you can still take your own DIY maternity photos.
Although taking photos yourself might not result in the same quality as a seasoned professional, I believe that any sort of photo is better than nothing. At the end of the day, you’ll have this special moment in time stamped and documented for you to look back on, and that’s all that matters!
So let’s run through my best tips (as a photographer) to help you take amazing DIY maternity photos now!

Create a vision
This is your one shot at taking your own maternity photos, so it can be very helpful to know exactly the type of photos that you want!
What kind of feel are you going for? Natural, light & airy, bold, fun, energetic, timeless, etc.?
Knowing what kind of vibe you want, expressions you crave, and the props that you GOTTA have, you’ll be more prepared to plan the photos that you absolutely want.
Generally speaking, I am not a huge fan on going online and scouring for specific poses & props, but in this case (when you don’t have the help and guidance of a professional), then I believe it’s a great way to get a better vision!
Pinterest is a great way to look for specific ideas and give you the visual you might need to plan your perfect DIY photos.
Pick a location
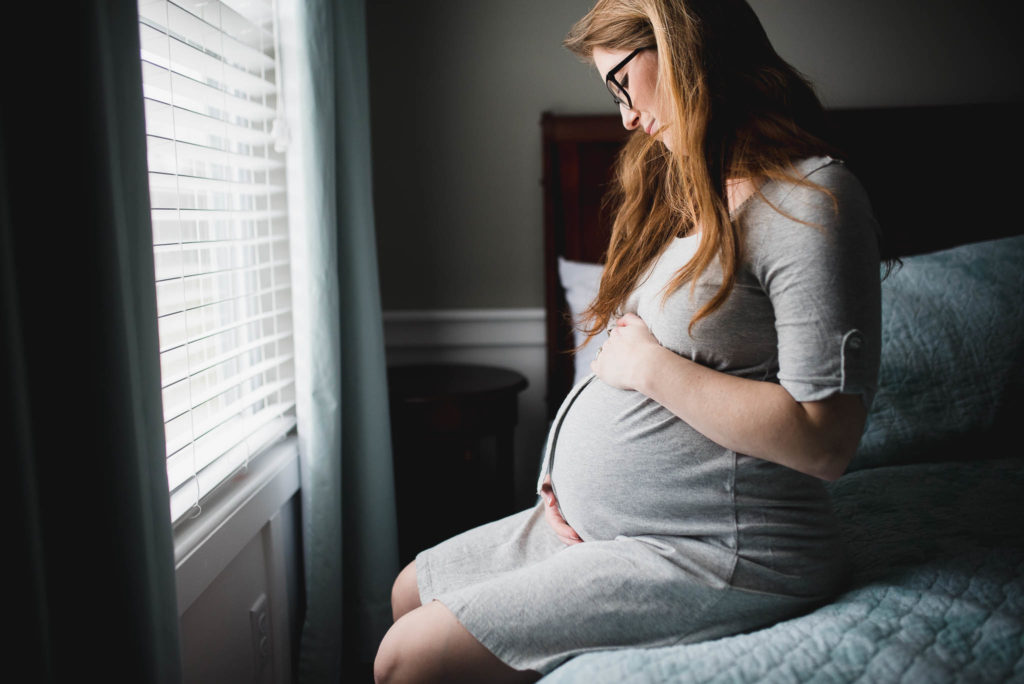
My 2 cents as a photographer: choose light first, and then location.
You can have the most beautiful location in the world, but if the lighting is less than stellar, then your photos will lack the impact that you’re hoping for!
On the flip side, some of the best locations don’t even need to be that amazing to begin with – just work with the light that you have and the results will speak for themselves.
If you’re new to photography, especially when it comes to light, then feel free download this free e-book to help you get started – you’ll be happy that you did! (take it from me, light is KING when it comes to good photos)
Choose the right outfit
I know you might have your eye on those flow-y gowns and mesmerizing naked bump shots, but those photos can be tricky to pull off, especially without a professional.
While there are no rules on what to wear, think of choosing the right outfit more of a guideline.
I always tell my clients to wear something important to them – or simply something that they feel confident wearing! Being pregnant 4 times myself, I know the dilemma of feeling huge and tired, so wearing something that is comfortable and cute is a must!
Read next: The ultimate guide to buying maternity clothes on a budget
Dresses that show off that bump, leggings and a tunic top, or your absolute favorite maternity outfit will be perfect, just make sure you don’t go crazy with colors and prints.
Not sure of what’s a good outfit? Check out this board to help you pick the perfect outfit!

Practice before the main event
If you don’t know your camera settings, now is the time to practice before you get yourself dolled up and ready to go.
Things that you should be aiming to practice: light, time of day, camera settings, angles, poses, location, and using any kind of assistance like a tripod of camera shutter remote.
If you are doing this solo, then a tripod is a MUST. This will help you setup your camera & lighting just right and will keep it in place without falling over.
Depending on your camera, you may just need a basic tripod like this one. If you have a nice DSLR or mirrorless camera, I would recommend investing in something of the same quality caliber as your camera.
This is what your precious camera will be mounted on, so it’s best to take the extra measures to ensure it’s safety from falling over. I personally use a professional tripod like this to ensure the stability & security of my camera – it’s a beast, but it’s lasted over 10 years and still going strong!
Read next: How to take self portraits: 5 tips to help you get started
Ask for help
Taking your own photos is no small task, so ask for help if you can!
If you don’t have a tripod or if you haven’t figured out the easiest way to take self portraits, then having a helper there with you will make this all easier! (Even us photographers need a little help with this, here’s the proof)
Helpful tip: get all of your settings in place, take a few test shots with a model, and then pass the camera off to your helper. This will help any frustration in the long run when trying to get the “perfect shot”.
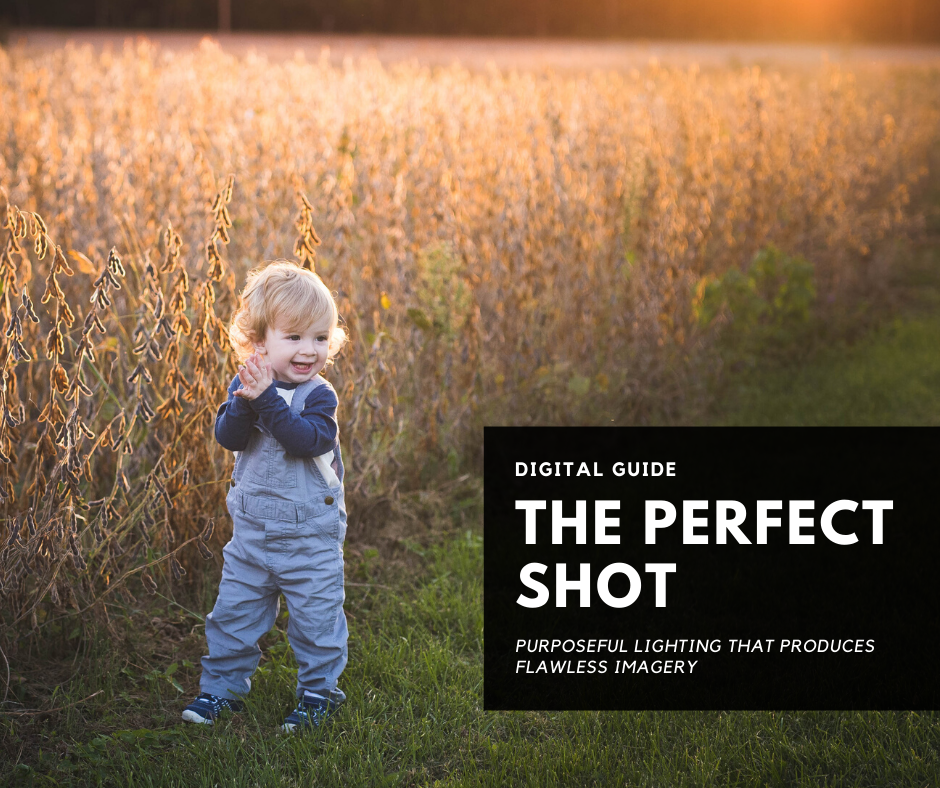
Speaking of the perfect shot, this digital guide is extremely helpful when it comes to getting your camera settings and lighting just right, which makes editing and the end result so much more pleasing!
Overall, just have fun with this project!
Taking DIY maternity photos might not come naturally to you, but time, patience, and a little bit of planning ahead will make it run so much smoother! The end goal should be to document this special time in your life & have a memory that you can share with your child down the road.
